So, that took longer than I thought it would…
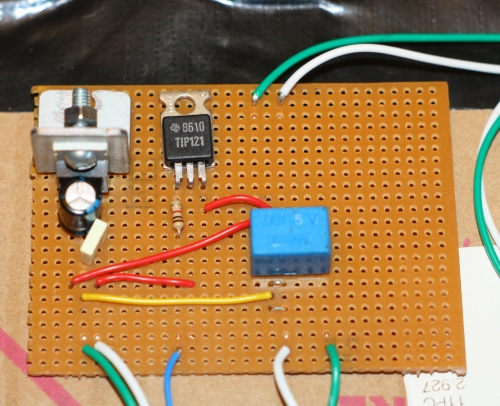
Once I put the whole thing together, with the controller board and power board, it didnt work – the Darlington wouldnt switch the power for the UV Array. Some peculiarity of the ones I have, or just the fact that it wont work like that… Either way, I had to go back and re-do that board. Oh and also replace the Atmega 328 – they dont like near on 18 volts into a control pin it turns out! So now I have a completely re-done power control board, with a Darlington, which is in turn switching a relay, which switches the UV Array. Phew! Also I fitted a lump of metal to the 5v regulator, although will need to find a better heatsink soon as its still getting rather warm…

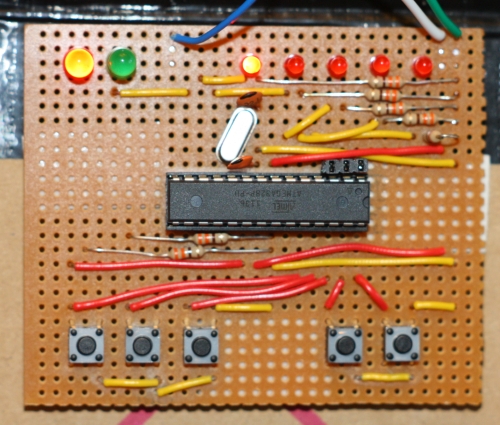
So the controller board itself hasnt changed much, apart from a new atmega chip. Also its now fixed to the front of the UV light box!

This is the part that has changed the most, what with the Darlington not working as intended. As you can see, the voltage regulator on the left now has a hefty bit of metal for a heatsink, but needs something bigger. The blue box is a relay from my dads bits box, wouldnt have thought it was powerful enough, looking at it, however it does the job rather well.

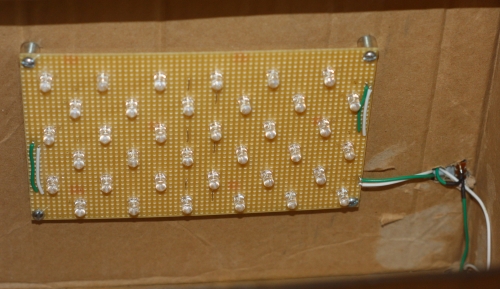
And in this last picture, you can see the UV array inside the box. Not much to see here, all the resistors are on the underside of the board, but you can see my amazing wire organisation! Yes the whole box is made of cardboard and gaffa tape, but it works. Eventually I will build something better, maybe even have more LED’s in the array… However for now this will do me nicely.
Now all this is finished though, I can go on to actually making more boards! Woo!! I will eventually sort out some schematics and board layouts for this, however most of the circuit I just made up from previous experience, so that may take a while!